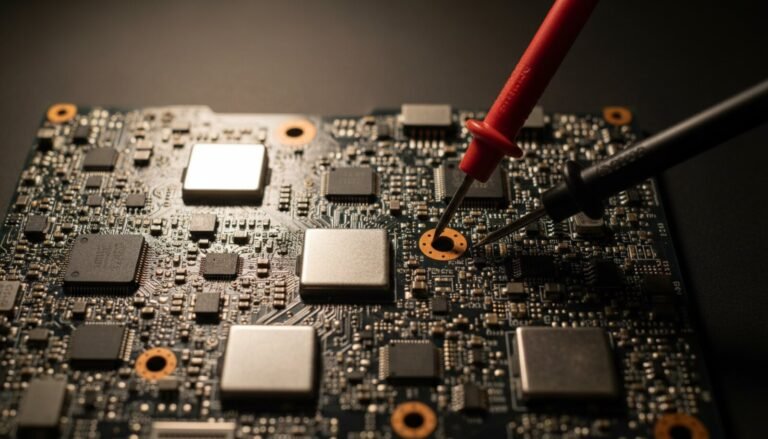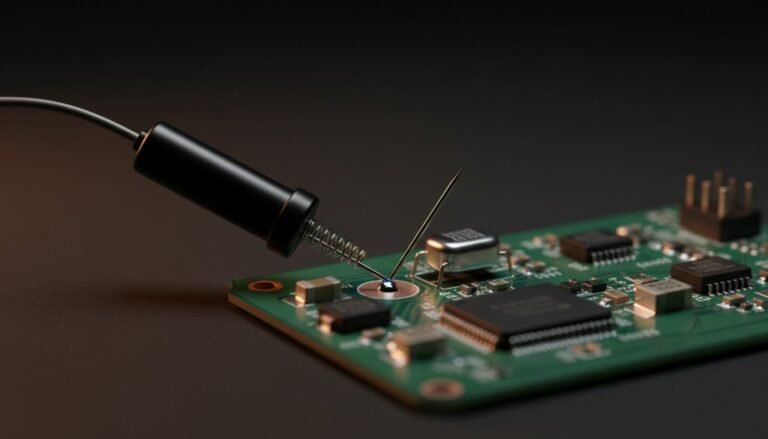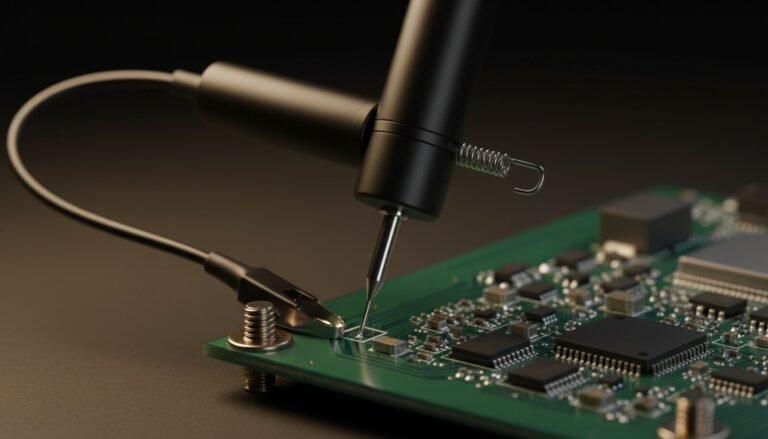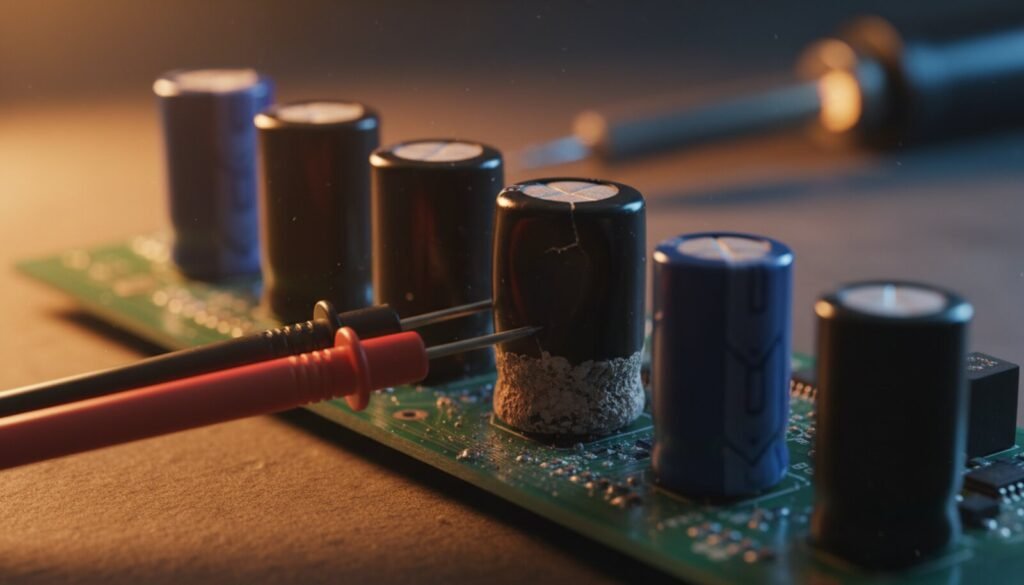
A capacitor can measure exactly the capacitance printed on its case and still be completely dead to the circuit around it. That single fact is why so many “I replaced the obvious bulged one and it still misbehaves” repairs stall — and it’s what this guide fixes, by walking the three tests in the order a working bench actually runs them: eye, multimeter, ESR.
Why Capacitors Fail More Than Anything Else
Think of a capacitor as the header tank of the circuit: it fills and empties constantly to smooth the ripple on a supply rail. In a switching power supply that means charging and discharging tens of thousands of times per second, for years, next to a hot heatsink. Aluminium electrolytics are wet parts — there is a liquid electrolyte in there — and heat drives it out through the seal. Every 10 °C of extra operating temperature roughly halves an electrolytic’s rated life. That is the whole story of why they dominate fault statistics.
- Aluminium electrolytic — the classic polarised can. Highest capacitance for the money, and the part that ages out. Prime suspect in any power supply.
- Ceramic (MLCC) — the tiny brown rectangles scattered by the hundred across a board. They don’t dry out, but they crack under board flex, thermal shock or clumsy rework, and a cracked MLCC usually fails short — suspect number one when a whole rail is dead-shorted to ground.
- Polymer / solid — the silver-topped cans on motherboards and GPUs. Far lower ESR and much longer life than wet electrolytics, but not immortal, and they often fail without ever bulging.
- Tantalum — fails short, occasionally with fire. Never fit one with a marginal voltage rating.
One era is worth flagging: the “capacitor plague” of roughly 1999–2007 was a real industry-wide defect caused by a faulty electrolyte formulation, and boards from that window fail at rates that have nothing to do with how they were used.
Before You Touch Anything: Discharge
A 400 V bulk capacitor in an offline supply holds a genuinely dangerous charge for minutes after the mains is pulled — and it will still bite you an hour later if the bleeder resistor is the part that failed.
Discharge through a resistor, not a screwdriver: a few kilohms at a couple of watts across the terminals for ten seconds. Shorting a bulk cap with a screwdriver blade welds pits into the tool and dumps a current spike back into whatever is still on that rail. Then confirm on DC volts that it actually reads near zero.
One legal footnote worth knowing if you repair TVs and monitors in the EU: the spare-parts obligation for electronic displays was amended to cover only capacitors above 400 microfarads. The small secondary-side electrolytics that actually dry out are below that line, so nobody owes you one.
Test 1 — The Eye (30 Seconds, Solves a Lot of Boards)
- A domed or split top is a conviction. Those score marks pressed into the top are a vent, designed to split before the can explodes. If it has moved, the part is finished — no measurement required.
- Crust or a dark stain at the base, on the can or the board underneath, is leaked electrolyte. Same verdict. Clean the residue off the pads; it’s mildly corrosive.
- Browned board, a lifted sleeve, that sharp fishy smell — all point at a part that has been running too hot.
The trap is the reverse inference. A good-looking capacitor is not a good capacitor. Most failed electrolytics never bulge at all — surface-mount cans and polymers in particular die flat and pretty. That is exactly why tests 2 and 3 exist.
Test 2 — The Multimeter (Short, Open, Capacitance)
Power off, capacitor discharged. In this order:
- Short. Continuity or the ohms range across the terminals. A steady beep or a reading pinned near zero that doesn’t move means the part is shorted. On ceramics this is the test that matters — a cracked MLCC pulls its whole rail to ground and hides among fifty identical siblings.
- Charge and discharge. Out of circuit, on a high ohms range, a healthy electrolytic makes the reading climb steadily toward OL as the meter’s own test current charges it. Instant OL with no climb means open. A reading that stalls at some low value and stays there means leakage.
- Capacitance. If your meter has a farad range, measure out of circuit and compare against the printed value. Most aluminium electrolytics are specified at ±20 %, so a 1000 µF part reading 850 µF is fine and one reading 300 µF is dried out. Measuring capacitance in-circuit gives you the value of the cap in parallel with everything else on that node — a meaningless number.
Pass all three and the part still might be junk. Which brings us to the test that separates a hobby bench from a working one.
Test 3 — ESR, the Invisible Fault
ESR is equivalent series resistance: a small parasitic resistance in series with the ideal capacitor, made up of the foil, the leads, the tabs and — the part that changes — the electrolyte itself. As the electrolyte dries, ESR climbs. Capacitance often barely moves.
Back to the header tank: capacitance is the size of the tank, ESR is the bore of the pipe. A full tank behind a drinking straw supplies nothing when the load asks for a fast gulp of current. In a switching supply, where the capacitor’s entire job is to deliver current in sharp pulses at 50–150 kHz, high ESR means the ripple no longer gets filtered. What you see on the bench is:
- Gear that is reluctant to start from cold and behaves fine once warm (drying electrolyte gains conductivity as it heats — a genuinely diagnostic symptom);
- A supply that hiccups, chirps or cycles on and off under load;
- Random reboots, video artefacts, audio buzz, or downstream regulators throwing undervoltage faults;
- Visible ripple on the rail if you scope it — often hundreds of millivolts where the design allows tens. Seeing it at all means AC coupling and the right vertical setting — in DC coupling the ripple is smaller than one step of the scope’s own resolution. This is the measurement that justifies buying your first oscilloscope, and it only reads true with AC coupling, a 10X probe and a short ground lead.
The Instrument
A dedicated ESR meter, or one of the cheap multi-function component testers, pays for itself on the first repair. The reason it works is elegant: it measures with a small high-frequency AC signal kept below roughly 0.2 V, which is under the forward voltage of any silicon junction on the board. Nothing else turns on, so in most cases you can measure ESR with the capacitor still soldered in place — which means you can screen an entire row of caps in a couple of minutes instead of desoldering them one by one.
Two caveats: the capacitor must be discharged, and anything in parallel with it will drag the reading down. In-circuit ESR is a screening tool — it reliably finds the bad ones. A suspiciously good reading on a suspiciously old cap deserves confirmation out of circuit.
What Counts as High
ESR is not a single threshold; it scales with capacitance, voltage rating and can size — bigger means lower expected ESR. As a working rule of thumb:
| Part | Typical healthy ESR | Start worrying above |
|---|---|---|
| 1000–3300 µF, low-ESR, PSU output | hundredths of an ohm | ~0.2 Ω |
| 220–470 µF general purpose | tenths of an ohm | ~1 Ω |
| 10–47 µF small can | a few ohms — normal | ~10 Ω |
| Polymer / solid | a few milliohms | anything in the tenths |
| Ceramic MLCC | milliohms | n/a — these fail short, not dry |
Don’t treat those numbers as a datasheet. The honest method is comparative: measure the neighbours. Six identical 1000 µF caps on the same rail, five reading 0.03 Ω and one reading 0.9 Ω, is a conviction that no table can improve on.
Replacing It: Three Rules
- Same capacitance, same or higher voltage. A 25 V part in place of a 16 V one is fine and often an upgrade; the reverse never is. Physical size is usually your real limit.
- 105 °C and low-ESR in any switching supply. A general-purpose 85 °C cap dropped into a PSU output will be back on your bench within months. Match or beat the original’s ESR and ripple-current rating — a “better” high-ESR audio cap is a downgrade here.
- Polarity is sacred. The stripe marks negative on the can; on the board, the shaded half of the silkscreen outline marks it. Reversed electrolytics vent, loudly. Check twice before you heat the iron.
And if a board is old enough that one electrolytic has dried out, its siblings were built the same week and cooked in the same case. Measure them all before you close the lid.
Where This Sits in a Repair
Component testing is one layer of a diagnosis, not the whole thing. On a dead board, capacitors are where you look after the rails, not before — and they’re one of three parts that account for most bench failures.
- Rail dead-shorted to ground? A cracked ceramic is the most common cause, but a failed switching transistor is the other — see how to test a MOSFET with a multimeter before you condemn a good one.
- Rails clean and stable but the board still won’t boot? The fault has moved from power into logic, and the question becomes whether the firmware survived — that’s when a CH341A and AsProgrammer or an RT809H comes out to dump and compare the SPI flash.
- Suspecting the BGA underneath? Read when reballing actually fixes a board first. Reflowing a chip because a capacitor was drying out is a repair that lasts three weeks.
Questions That Always Come Up
Can I fit a higher capacitance than the original? On a bulk filter or PSU output, one step up (1000 → 1500 µF) is usually harmless and occasionally helps. Anywhere the value sets a time — soft-start, oscillators, timing networks, feedback compensation — no. There the capacitance is part of the arithmetic.
Do ceramics have ESR too? Yes, and it’s superb — milliohms. That’s their whole appeal, and why designers park a small ceramic next to every big electrolytic. Ceramics essentially never dry out; they crack and short instead. Different animal, different test.
Is a full recap worth it? On old, valuable gear where one electrolytic has already gone, yes — the rest are the same age and the same brand. On a modern board, replace the culprit and measure its neighbours. Shotgunning a hundred parts without measuring is expensive guessing and adds a hundred chances to lift a pad.
Why does my meter’s capacitance range say the cap is perfect when the board is clearly faulty? Because a capacitance meter charges the part slowly with DC and never asks it to move current quickly. ESR is the property that fails first, and DC capacitance is blind to it. This is the single most common reason a “tested good” capacitor is the fault.
Can I test a capacitor in-circuit with just a multimeter? For a dead short, yes — that reading is valid in circuit. For capacitance and charge/discharge behaviour, no; parallel paths corrupt the result. ESR is the only genuinely useful in-circuit measurement, and that needs an ESR meter.
Verdict
Test capacitors in layers, and stop at the first conviction: eye (bulged or leaking is finished), multimeter (short, open, capacitance out of circuit), ESR (the fault the other two can’t see). If you buy one instrument this year, make it an ESR meter or a component tester — it is the cheapest tool on the bench that changes what you’re capable of diagnosing, and it will find in ninety seconds the fault that a capacitance reading will happily tell you isn’t there.
And before you start pulling capacitors: the board’s current draw on a bench supply tells you whether you’re chasing a hard short or the slow leakage that tired electrolytics cause — two very different searches.
Recapping a vintage board rather than testing one cap at a time? The Amiga 1200 capacitor list shows why the position matters as much as the value: two of its 18 electrolytics set a signal’s low-frequency corner, and a dried-out one sounds like a design flaw.