You found flashrom, you’re on Windows, and you’re looking for the download button. There isn’t one. The project does not ship a flashrom.exe, has never shipped one, and every site offering you a ready-made flashrom binary for Windows is either repackaging someone’s random build or feeding you something worse.
That sounds like bad news. It isn’t, really — flashrom builds on Windows in about ten minutes with official tooling, and once you know which parts of it work on Windows at all, the whole thing gets a lot less frustrating. This is the honest version: what runs, what doesn’t, how to build it, and the commands that actually do the job on a bench PC.
⬇ flashrom source (official)
Get it from flashrom.org (official)
Source only — that’s the whole point of this post. The project publishes a signed .asc and a .sha256sum next to every release; check the hash above against the file you get. Nobody hosts an official Windows executable, us included.
Why there is no official flashrom.exe
flashrom is a source-first project. Linux and BSD users get it from their package manager, so upstream has never had a reason to maintain a signed Windows installer. What upstream does maintain is a documented Windows build path using MSYS2, and that’s the path below.
The practical consequence: any “flashrom for Windows, free download” page is hosting a binary that nobody vouches for. This is a tool whose entire job is overwriting the chip your machine boots from. Running an unverified build of it is a strange risk to take when the real thing is ten minutes of typing.
What flashrom can and can’t do on Windows
This is the part almost nobody tells you up front, and it’s the reason half the Windows flashrom questions on forums end in confusion. flashrom on Windows is missing libpci — the library it uses to talk to PCI devices. Upstream’s build docs say so plainly. Every programmer that depends on PCI access is therefore gone, and that includes the big one: internal.
| Programmer | Windows? | What you need |
|---|---|---|
internal (flash the host machine’s own BIOS chip in place) |
No | Not available — needs PCI access. Boot a Linux USB stick for this. |
ch341a_spi (the $5 black USB flasher) |
Yes | WinUSB driver via Zadig |
ft2232_spi (FT2232H / FT232H boards) |
Yes | WinUSB or libusbK via Zadig — not the FTDI VCP driver |
serprog (Pico, Arduino, serprog firmware) |
Yes | A working COM port: CH340 or CP2102 driver |
buspirate_spi |
Yes | COM port driver for your Bus Pirate revision |
ni845x_spi |
Partly | National Instruments’ proprietary library, 32-bit build only |
nic*, sata*, atahpt and friends |
No | All PCI-based — same missing libpci |
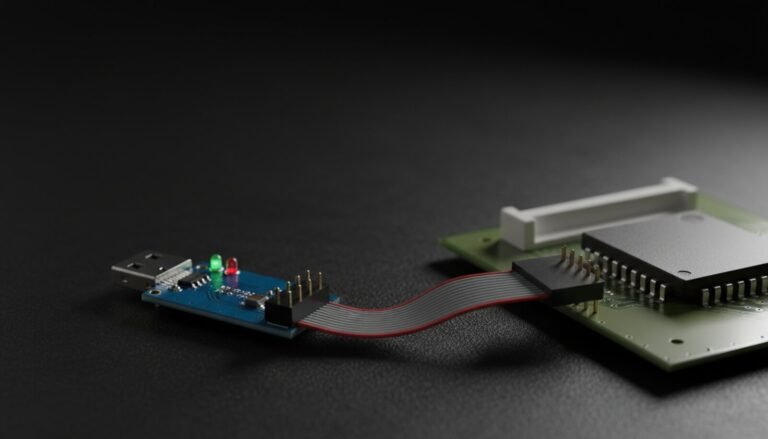
Read that table again if you came here hoping to reflash your laptop’s BIOS from inside Windows with flashrom. You can’t. On Windows, flashrom is a tool for driving an external programmer against a chip you’ve clipped onto or desoldered — which is how most of us do it anyway, because it’s the method that survives a bad flash.
Building flashrom on Windows with MSYS2
Ten minutes, mostly download time. These are upstream’s own instructions, not a workaround someone invented.
- Install MSYS2 and let it finish updating itself (it will tell you to close and reopen the shell once — do it).
- Open the UCRT64 shell specifically. Not the plain MSYS shell, not MINGW32. The Start menu entry says “MSYS2 UCRT64”.
- Install the toolchain and libraries:
pacman -Sy mingw-w64-ucrt-x86_64-gcc mingw-w64-ucrt-x86_64-meson mingw-w64-ucrt-x86_64-ninja mingw-w64-ucrt-x86_64-pkg-config mingw-w64-ucrt-x86_64-cmocka mingw-w64-ucrt-x86_64-libusb mingw-w64-ucrt-x86_64-libftdi mingw-w64-ucrt-x86_64-libjaylink - Get the source — either unpack the tarball above, or
git clone https://review.coreboot.org/flashrom.gitandcd flashrom. - Build it:
meson setup builddirmeson compile -C builddir - Your binary is at
builddir/flashrom.exe. Check it:./builddir/flashrom.exe --version
The gotcha that trips everyone: that .exe is not standalone. Copy it to your Desktop, double-click it from Windows, and it dies instantly with a missing-DLL error, because it wants libusb-1.0.dll, libftdi1.dll, libwinpthread-1.dll and friends. Two fixes — run it from the UCRT64 shell where those DLLs are already on the path, or add C:msys64ucrt64bin to your Windows PATH. Copying just the .exe somewhere and hoping is what generates most of the “it doesn’t work” posts.
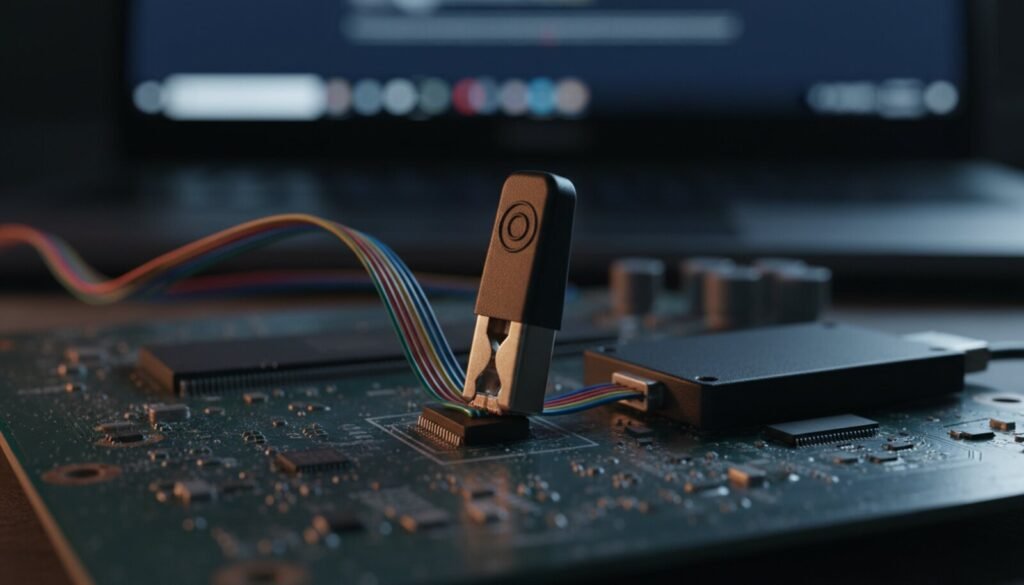
None of it matters if the clip is not making contact. If flashrom reports no chip, or a chip ID that changes between attempts, work through the SOIC-8 test clip guide before you suspect the build.
The driver step people skip
flashrom talks to USB programmers through libusb. Windows will not hand a device to libusb until that device has a WinUSB-class driver bound to it, and Windows won’t do that on its own. That’s Zadig’s entire job.
Plug the programmer in, run Zadig, tick Options → List All Devices, select your programmer in the dropdown, choose WinUSB, hit Replace Driver. If you’ve never done this, our Zadig walkthrough shows the exact screens — it’s written around a USBasp, but the procedure is identical for a CH341A.
Two warnings worth their own line. First: on an FT232H or FT2232H board, replacing the driver with WinUSB means the FTDI VCP driver no longer owns it, so the COM port disappears. That’s expected and reversible, but if you also use that board as a serial adapter, know it before you click. Our FTDI driver guide covers getting the VCP driver back. Second: if your CH341A is your day-to-day flasher with AsProgrammer, swapping it to WinUSB will break AsProgrammer until you swap the driver back. Pick a lane.
For serprog devices there’s no Zadig step at all — you just need a COM port, which means the ordinary CH340 or CP2102 driver.
Commands that actually work on Windows
Same flashrom syntax as everywhere else, with two Windows-specific wrinkles.
- Detect the chip first, always:
flashrom.exe -p ch341a_spiwith no other argument probes and prints what it found. The CH341A driver takes no parameters — the SPI clock is fixed at 2 MHz and CS0 is used, so there’s nothing to tune. - Read a backup, twice:
flashrom.exe -p ch341a_spi -r backup1.binthen-r backup2.bin, then compare them with Windows’ ownfc /b backup1.bin backup2.bin. “FC: no differences encountered” means your clip contact is solid. If the two dumps differ, your wiring is marginal and writing now will brick the board. This is the single most valuable habit in chip work. - Serial programmers:
flashrom.exe -p serprog:dev=COM5:115200. The manpage’s Linux examples use/dev/ttyUSB0; on Windows it’s the COM name straight from Device Manager. If Windows assignedCOM10or higher, write it as.COM10— the plain name silently fails to open on high port numbers, a Windows API quirk, not a flashrom bug. - Write and verify:
flashrom.exe -p ch341a_spi -w new.bin. flashrom verifies after writing by default; don’t disable that. - Ambiguous chip: if probing lists several candidates, pin it down with
-c "MX25L6406E"using the exact name flashrom printed.
When flashrom on Windows isn’t worth it
Honest advice: if you’re on Windows and you just need to dump and reflash a BIOS chip on a repair job, the GUI tools are less fuss. AsProgrammer with a CH341A does the same job with a chip list and a progress bar. If your bench runs an XGecu, XGpro already handles everything the TL866II Plus and T56 can reach, and the RT809H has its own software for the NAND and eMMC work flashrom won’t touch.
flashrom earns its place when you want one scriptable, auditable tool across a pile of different programmers, when you need chip support the GUI tools lack, or when you’re automating dumps. Those are real reasons. “It’s the famous one” is not.
FAQ
Can flashrom update my motherboard BIOS from inside Windows?
No. That needs the internal programmer, which needs PCI access, which flashrom doesn’t have on Windows. Use your board maker’s updater for a normal update, or boot a Linux live USB if you specifically need flashrom’s internal mode.
Is there a safe prebuilt flashrom.exe anywhere?
Nothing the project publishes or endorses. Some people trust builds from developers they know; that’s a judgement call about a specific person, not a download you should take from a search result. Building it yourself removes the question entirely.
flashrom says “No EEPROM/flash device found” — now what?
Almost always power or contact, not software. Check the clip is seated on pin 1 the right way round, check the chip actually gets 3.3 V, and remember a chip still soldered to a powered board will fight you — the rest of the circuit loads the SPI lines. Try again with the board fully de-energised, and if it still won’t probe, desolder the chip.
Do I need to run it as Administrator?
For USB programmers, no — once Zadig has bound WinUSB, a normal user session is enough. If a guide tells you to run as Admin to fix a detection problem, it’s guessing.
Which MSYS2 shell — there are four of them.
UCRT64 for a normal 64-bit build. MINGW32 only if you specifically need the 32-bit ni845x_spi path. Using the wrong shell is why pacman “can’t find” the packages.
Verdict
flashrom on Windows is real and it works — for external programmers, after a ten-minute MSYS2 build and one Zadig driver swap. What it is not is a download, and it is not a way to flash the BIOS of the machine you’re typing on. Anyone selling you either of those is selling you something else.
Build it if you want one tool that scripts the same way across every programmer on your bench. Skip it and use the GUI if you have one board to fix tonight. Both are correct answers; the wrong one is downloading a stranger’s binary and pointing it at a chip you can’t easily replace.