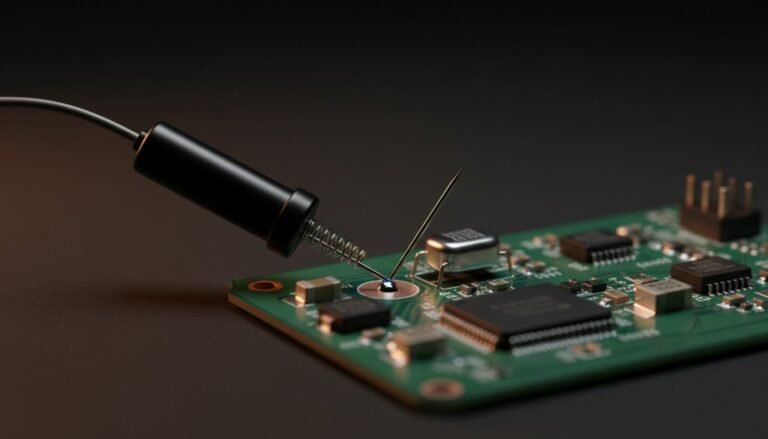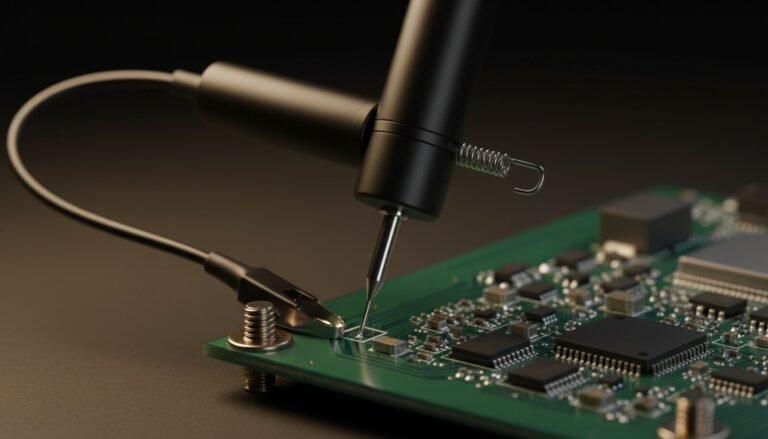
Most board-level diagnosis comes down to one question: is this part good or bad? Answer it reliably and you fix boards; guess and you shotgun components until something works. This guide covers the three parts you meet on every board — resistors, diodes and bipolar transistors — and what your meter is actually doing when it hands you those numbers. That second half is where good parts get condemned.
Two Rules That Come Before Any Reading
Rule one: the board is dead and the caps are empty. Resistance and diode ranges work by pushing the meter’s own current through the part, and any voltage left on the board fights that. Fluke’s guidance opens with “Turn Off Power to Circuit” and adds that “if a circuit includes a capacitor, discharge the capacitor before taking any resistance reading.” Bulk caps hold charge long after the LED goes out — our capacitor and ESR guide covers how to bleed them safely.
Rule two: in circuit, a reading can only lie downward. Every part on a populated board sits in parallel with everything else on those two nodes. Fluke states it plainly: “the resistance of all components connected in parallel with a component being tested affects the resistance reading, usually lowering it.” That gives you the most useful rule on the bench:
- Reading lower than expected → inconclusive. Could be parallel paths, could be a fault. You do not know yet.
- Reading higher than expected, or open → that is real. Nothing in parallel can raise a resistance.
Resistors: The Reading Can Only Lie Downward
Know what the part is supposed to be first. Three-digit codes are a value and a multiplier — “103” is 10 × 10³ = 10 kΩ — and an “R” stands in for the decimal point, so “4R7” is 4.7 Ω. On 0402 and smaller, vendors print a compressed digit-plus-letter code instead; look that one up in the manufacturer’s marking table.
Then measure, and use the tolerance honestly. Vishay’s standard thick film chip resistors (the CRCW family, covering most boards you will open) are specified at ± 1 % or ± 5 % tolerance with a temperature coefficient of ± 100 or ± 200 ppm/K. Run that second number: even at ± 200 ppm/K, a part sitting 60 °C above room temperature has drifted about 1.2 %. Temperature is not your excuse — a resistor reading 12 % high is damaged. And since the same datasheet rates a 0402 at just 0.10 W, the ones that drift high ran hot: snubbers, gate resistors, bleeders. Check those first.
Three traps before you condemn anything:
- The zero-ohm jumper. That Vishay family lists a “jumper (0 Ω)” alongside the 1 Ω to 10 MΩ range. It reads near zero and beeps, and it is not a fault — it is a wire in a resistor body, hopping one trace over another.
- The one that reads open. On a supply input that is often a fusible resistor doing its job. Replace it without finding what drew the current and you get to replace it again.
- The one that reads near zero. Current-sense shunts are milliohms by design. That is their value, not a verdict.
Diodes: A One-Way Valve, Measured at 1 mA
Switch to the diode range (the diode symbol, usually sharing a position with the beeper) and put the red probe on the anode, black on the cathode — the cathode is the striped end. The display shows the forward drop. Per Fluke, “a good forward-biased diode displays a voltage drop ranging from 0.5 to 0.8 volts,” while germanium parts land around “0.2 to 0.3 V.” Schottkys, everywhere in switching supplies, sit lower still: roughly 0.15 to 0.45 V.
Reverse the probes and a healthy diode reads OL. That is the whole test. Near 0.000 V both ways means shorted — the common one, and it will hold an entire rail down. OL both ways means open. A low reading both ways, in circuit is suspicious but not proven; lift one leg before you call it.
A Zener behaves like an ordinary diode here — the range finds shorts and opens but says nothing about the regulation voltage, which only shows up when you reverse-bias it from a real supply. And Fluke warns that a diode reading “should not be taken when a diode is connected in a circuit since it can produce a false reading”: on a board, every in-circuit reading is a screening pass.
Bipolar Transistors: Two Diodes Back to Back
To your meter, a BJT is two junctions sharing the base. That model is all you need for a go/no-go test:
- NPN: red probe on the base, black on the collector, then black on the emitter. Both should show 0.6–0.7 V. Reverse the probes and both should read OL.
- PNP: the mirror image — the black probe on the base shows the two drops.
- Collector to emitter: OL both directions on a healthy part out of circuit.
- Verdicts: any junction at 0.000 is a short, and a collector-emitter short is the number one killer because it drops the rail it sits on. A junction at OL both ways is open.
The datasheet backs this up. Nexperia’s MMBT3904 — the SOT-23 NPN found on countless boards — specifies emitter-base cut-off current IEBO of 50 nA maximum at VEB = 6 V and collector-base cut-off ICBO of 50 nA at VCB = 30 V. Nanoamps: that is why a good reverse junction reads OL, and why any real reverse reading means damage.
- Marking codes are vendor-specific. Nexperia lists the MMBT3904 marking as “7A” plus a site character; other manufacturers print something else entirely on the same die. Confirm a code against the vendor’s own datasheet, and never assume a pinout from it — probing the wrong pin gets you the wrong verdict.
- The hFE socket proves less than you think. That same part is specified at a DC current gain of 100 to 300 at IC = 10 mA — a 3:1 spread inside one part number — falling to a minimum of 30 at 100 mA. Gain depends on the current it is measured at, and the socket uses its own. Use it to tell alive from dead, not to grade parts.
If the three-legged part turns out to be a MOSFET, stop: the gate holds charge and will fool both you and the meter. That one has its own ritual, in how to test a MOSFET with a multimeter.
The Part Nobody Covers: The Number Is Your Meter’s, Not the Part’s
The diode range is a current source with a voltage ceiling, and both figures are published. An RS-branded handheld specifies “test current of 1 mA maximum, open circuit voltage 2.8 V DC typical.” The ubiquitous DT-830-style pocket meter specifies the same shape: “forward DCA is approx. 1 mA,” “open voltage is approx. 3 V.” Roughly a milliamp, roughly three volts of headroom. Three consequences follow.
1. The forward voltage you read is the one at 1 mA, not the one in the datasheet. Vishay specs the 1N4148 at VF = 1 V maximum with IF = 10 mA, and the curves in that same document put the identical die near 0.6 V at 1 mA and around 0.45–0.5 V at 0.1 mA, all at 25 °C. A diode reading 0.58 V on your meter and dropping 0.7 V in the circuit is one healthy diode measured at two currents. Stop condemning parts for reading “too low.” The same logic runs through the rest of the instrument, and it is all published: see which multimeter specs actually matter for board repair.
2. Junction temperature moves it too. That forward-voltage curve falls steadily as the junction warms, so a board you have been powering for ten minutes reads lower than the same board cold. Let a suspect part and its neighbour settle before you compare them.
3. The ~3 V ceiling limits what you can test at all. Red and green LEDs light up on the diode range; blue and white LEDs need more than 3 V and frequently read OL on a perfectly good part. OL means “I could not push a milliamp through this at three volts” — a statement about your meter as much as about the part.
Then there is the beep. The continuity threshold is not a standard, and the two meters on your bench probably disagree. The RS handheld sounds “if the resistance is less than approximately 30 Ω.” The DT-830-style meter beeps “while resistance is less than (70 ± 20) Ω” — so it can happily sing at 90 Ω. That is a 3:1 difference in what a beep means, and windings, ferrite beads, shunts and long traces all live in the gap.
Do this once and never wonder again: short your probes, note the lead resistance, then measure a known 47 Ω and a known 100 Ω on the continuity range and write down which ones beep. Now you know your own meter. From then on, the beep is triage and the number in ohms is the verdict.
The Verdict Table
| Part | Healthy reading | Typical failure |
|---|---|---|
| Resistor | Nominal ± tolerance; may read lower in circuit | Higher than nominal, or OL = drifted / open |
| 0 Ω jumper / shunt | Near zero, beeps | OL = open (it is a real part, treat it as one) |
| Silicon diode | 0.5–0.8 V one way, OL the other | 0.000 both ways = short · OL both ways = open |
| Schottky diode | ~0.15–0.45 V one way, OL the other | 0.000 both ways = short (very common) |
| BJT (NPN / PNP) | ~0.6–0.7 V base to C and to E one way; OL C–E | Any junction at 0.000 = short · C–E short kills the rail |
| Blue / white LED | Often OL on both ranges | Meter ceiling (~3 V), not necessarily a dead LED |
Where This Sits in a Repair
Component testing is the second move, not the first. The efficient order on a dead board:
- Narrow it down with current. A bench supply with a current limit tells you in seconds whether you are hunting a hard short or a leak — before you have probed a single component.
- Then test the parts on that rail with everything above, plus MOSFETs and capacitors and ESR — the two most common culprits on a power rail. Pulling a part for the out-of-circuit confirmation is a hot air rework job, and doing it badly costs you pads.
- Know when it stops being a component problem. If every junction checks out and the current draw is normal, the hardware is telling you it is fine — and the trail leads to firmware: a CH341A or an RT809H, and a test clip that actually fits.
Questions That Always Come Up
My meter beeps on a track. Is that a short? Not by itself. Depending on the meter, the beeper fires anywhere below 30 Ω or below 90 Ω, and legitimate windings, beads and traces live in that window. Read the ohms number and compare it against a known-good board or the mirror-image channel.
Why does my 10 kΩ resistor read 3 kΩ on the board? Parallel paths — another resistor, a junction, an IC input on the same node. Fluke says outright that parallel components usually lower the reading. 3 kΩ there may be entirely normal, and only an out-of-circuit measurement can condemn a resistor for reading low.
Can I just use the ohms range on a diode or a transistor? You will get a number, but not a measurement. The diode range is specified to develop around 3 V and push about 1 mA precisely so it can turn a junction on; the ohms ranges are not, and what you read shifts with the range you pick.
Verdict
Three mental models carry most of board-level component testing: a resistor whose in-circuit reading can only lie downward, a diode that is a one-way valve, and a transistor that is two diodes sharing a base. Add the two rules — dead board, and never trust a low in-circuit reading — and you will correctly judge the majority of parts you meet.
What separates a fast bench from a slow one is the fourth thing: the display is showing your meter’s opinion at roughly one milliamp and three volts. Once that lands, “0.55 V instead of 0.7” stops being a fault, “OL on a blue LED” stops being a dead part, and the beep stops being a verdict — which is worth more than a better meter.