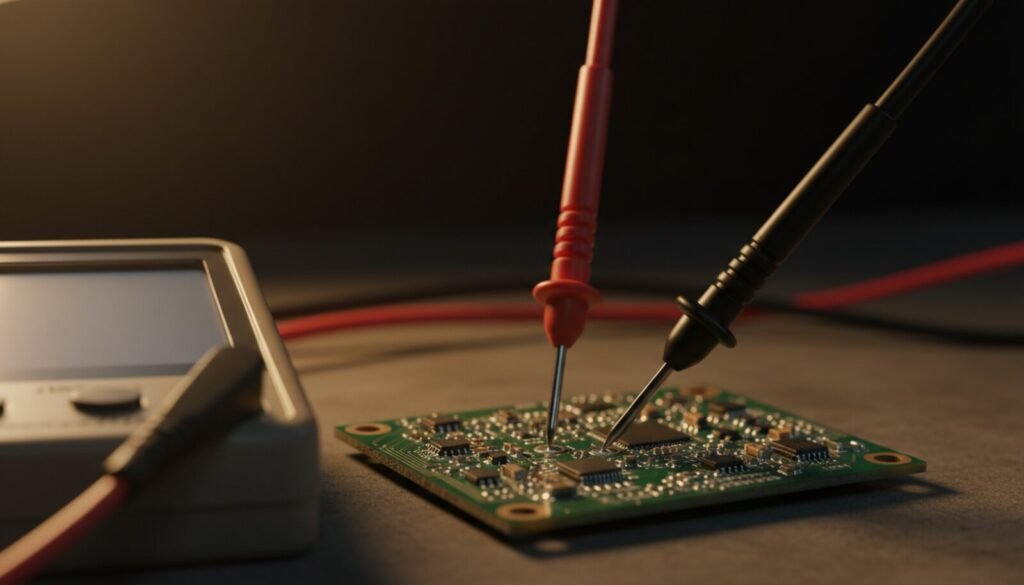
Between a ten-dollar meter and a five-hundred-dollar one lies an ocean of spec-sheet numbers, and most of the ones printed on the box — 40,000 counts, twelve functions, a bundled temperature probe — do nothing for board repair. A handful of numbers, buried in the detailed specifications PDF nobody opens, decide whether the meter tells you the truth about a board.
Everything below is anchored to two published spec sheets: Fluke’s 83V and 87V Detailed Specifications and the manual that ships with the DT-830L, the generic yellow meter almost everyone starts with. The point is not that you need a Fluke — it’s that once you can read the spec, you know where a cheap meter falls down, and it is not where most people assume. (Figures as published, checked August 2026.)
Accuracy Is a Formula, Not a Number
Both manuals state it the same way. Fluke: “Accuracy is given as ±([% of reading] + [number of least significant digits]) at 18 °C to 28 °C … for a period of one year after calibration.” The DT-830L says “± (a%×reading+d)” at “(23±5)℃”. Two error terms: a percentage that scales with the reading, plus a fixed number of counts on the last digit. Run it on a 1.05 V core rail:
- Fluke 87V, 6 V range, ±(0.05 % + 1), 1 mV resolution → 0.5 mV + 1 mV = ±1.5 mV.
- DT-830L, 2 V range, ±(0.5 % + 4), 1 mV resolution → 5.3 mV + 4 mV = ±9.3 mV.
That rail at ±5 % tolerance is legal anywhere from 998 mV to 1.10 V — a ±52 mV window. Both meters answer correctly, and here is the honest conclusion most buying guides skip: for reading DC rails, the cheap meter is good enough. Where it costs you is everywhere else on this page.
One trap does belong to the cheap meter: on its 20 V range the fixed term becomes 40 mV, so the same rail is now ±45 mV — the edge of the tolerance you were trying to verify. Always drop to the lowest range that fits.
Counts Are Resolution. Resolution Is Not Accuracy.
“6000 counts” means the display runs to 5999 before changing range. The 87V also has a 19,999-count high-resolution mode, and Fluke’s footnote about it is the most useful sentence in the document: “For Model 87 in the 4½-digit mode, multiply the number of least significant digits (counts) by 10.”
Turn on the extra digit and the counts term of the accuracy spec multiplies by ten with it. The total error in volts does not shrink: you get a finer number, not a truer one — admitted in a footnote while marketing puts the count on the front of the box. So “40,000 counts” on a no-name meter means nothing by itself. Counts without a matching accuracy spec is a bigger display, not a better instrument.
Input Impedance Decides Whether You Measure the Node or Load It
The Fluke’s terminals are 10 MΩ with less than 100 pF in parallel. The DT-830L is 1 MΩ on all ranges. That factor of ten is invisible on a power rail and brutal on a high-impedance node. Probe an enable pin held at 3.30 V through a 100 kΩ pull-up — an everyday sight on a power-sequencing chain:
- 10 MΩ meter reads 3.27 V (1 % low).
- 1 MΩ meter reads 3.00 V (9 % low).
The second reading is wrong enough to send you chasing a fault that doesn’t exist. The meter isn’t broken — you built a voltage divider with it and then read your own divider. Any time a node sits behind a resistor in the hundreds of kΩ, the input impedance is part of the circuit. The same 10 MΩ works against you on a floating trace, where it happily shows a “ghost voltage” coupled from a neighbour: that’s what a low-impedance (LoZ) mode is for.
The Part Nobody Covers: Your Ammeter Is a Resistor You Solder Into the Rail
Switch to current and the meter stops being an observer. It becomes a series resistance, and the spec that describes it — burden voltage — is the line cheap manuals omit entirely. From the Fluke sheet:
| Range | Burden voltage (typical) | Effective series resistance |
|---|---|---|
| 600 µA / 6000 µA | 100 µV/µA | ≈ 100 Ω |
| 60 mA / 400 mA | 1.8 mV/mA | ≈ 1.8 Ω |
| 6 A / 10 A | 0.03 V/A | ≈ 30 mΩ |
Fluke works the example through in its own application note: at 100 mA the meter drops “0.18 V”, and in a 3 V circuit “the available voltage would be only 2.82 V, and the 0.18 V burden voltage now represents 6%”. At 300 mA it is “roughly 0.54 volts”. That voltage is taken away from the circuit you are trying to observe.
The bench failure this causes is specific and maddening. You want the sleep current of an ESP32 board, so you put the meter in series on the µA range — 100 Ω, and at 20 µA that’s 2 mV of drop, perfect. Then the module wakes and asks for 150 mA. Through 100 Ω that would need 15 V, which doesn’t exist, so the rail collapses instead, the board resets, and you spend an hour blaming the firmware. The meter didn’t measure the wake-up current; the meter caused the reset.
Two ways out: solder a low-value shunt into the rail and measure the voltage across it, or skip the ammeter and read current on the bench supply’s own display, which sits upstream and drops nothing. If your manual has no burden voltage figure at all — the DT-830L’s doesn’t — assume the shunt is worse, not better.
Ohms Is Not One Test: the Excitation Changes With the Range
This spec surprises experienced people. The resistance function does not push the same current on every range; Fluke publishes the typical short-circuit current per range:
| Range | Typical short-circuit current |
|---|---|
| 600 Ω | 1 mA |
| 6 kΩ | 100 µA |
| 60 kΩ | 10 µA |
| 600 kΩ / 6 MΩ | 1 µA |
| 50 MΩ | 0.5 µA |
Three decades of difference, chosen for you by the range switch. On a loose resistor that changes nothing. In circuit it changes everything: a junction firmly off at 1 µA may start conducting at 1 mA, so the same node on the same board reads differently depending only on the range. When you compare a suspect board against a known-good one, use the same meter and lock the same range — autorange makes silent decisions that invalidate the comparison.
The ohms function also opens with up to “< 7.3 V dc” across the probes. It’s current-limited to the values above, so it isn’t the board-killer folklore claims — but it’s more than enough to forward-bias silicon. Diode mode is a tighter circuit: under 3.9 V open, 3.000 V full scale, about 0.6 mA. What those numbers do to your readings is covered in the guide to testing resistors, diodes and transistors on a board.
AC Volts Comes With Fine Print You Will Hit
People buy true-RMS expecting it to help with switching ripple. It doesn’t, and the spec sheet says why: on the 87V, “AC conversions are ac-coupled and valid from 3 % to 100 % of range”, crest factor “up to 3 at full scale, 6 at half scale”, and non-sinusoidal waveforms add “-(2 % Rdg + 2 % full scale) typical”. Shorting the leads in AC can still show a residual of 1 to 30 counts.
The lowest AC range is 600 mV, so 18 mV is the floor of specified performance on a good meter. The DT-830L is far worse off: its AC function has only 200 V and 600 V ranges, frequency response “(40~200)Hz”. A 40 mV ripple at 300 kHz on a buck output is outside every dimension of that spec at once. Ripple is a scope job; any number a DMM gives you there is a guess wearing a decimal point. If that is the wall you keep hitting, the next instrument is the one covered in your first oscilloscope for board repair — where the spec that actually decides your measurement turns out to be the probe, not the bandwidth. True-RMS earns its price on non-sinusoidal mains-side AC — inverters, dimmers, phase-cut loads.
Safety Is the Only Spec You Cannot Upgrade Later
Fluke states the 87V complies “to 1000 V Overvoltage Category III, IEC 664 to 600 V Overvoltage Category IV”, with “44/100 A, 1000 V FAST” fuses on the mA/µA inputs and “11 A, 1000 V FAST” on the A input. The DT-830L specifies “0.2A/250V; 10A/250V fuse”, overload protection of “250V DC/AC peak value” on ohms and diode, and states no measurement category at all.
Fluke’s category definitions are short: CAT I is “protected electronic equipment”, CAT II “single-phase receptacle-connected loads such as appliances and portable tools”, CAT III “3-phase distribution … and equipment in fixed locations”, CAT IV “3-phase at the utility connection”. The category isn’t about how many volts are present — it’s about how much energy is behind them.
Almost all board work is CAT I, which is why this feels theoretical, right up until you probe the primary side of a switching supply with the mains plugged in. At that moment a 250 V glass fuse is the entire safety system, and a 1000 V sand-filled fuse is the difference between a blown fuse and an arc in your hand. You can’t retrofit that.
What to Demand, What to Ignore
| Spec | What it decides at the bench | Verdict |
|---|---|---|
| Accuracy ±(% rdg + counts) | Whether a rail reading is trustworthy | Even ±(0.5 % + 4) is fine for DC rails |
| Input impedance | Whether you load high-impedance nodes | Demand 10 MΩ |
| Burden voltage | Whether your ammeter browns out the board | Must be published. Absent = assume bad |
| Continuity beep speed | Half of all bench work | Test before buying; no spec sheet covers it |
| Fuse and CAT rating | What happens on your worst day | Non-negotiable if mains comes near the probes |
| Counts (40,000, 60,000…) | Digits on the display | Meaningless without the accuracy spec |
One more, absent from every spec sheet: the probes. Stock leads are thick, blunt and often have unstable contact resistance. A set of fine silicone-jacketed probes fixes more phantom readings than a better meter would.
Where This Sits in a Repair
The meter is the first instrument on almost every job and the last word on very few. It narrows a dead board to a rail with the bench supply doing the current-limiting, then settles component-level questions: is this MOSFET shorted, is this diode still a diode. It cannot see ripple or capacitor ESR. When the answer is firmware rather than hardware the job moves to a CH341A and a test clip; when it’s a joint you can’t see, to the microscope and the hot air station.
One limit no spec sheet covers: the meter is only as good as your expectation of the reading. An enable pin sitting at 0.92 V looks broken until the controller datasheet tells you its enable threshold is 430 mV — which is why the schematic and the boardview belong on the bench beside the meter.
FAQ
Do I need true-RMS for board repair? No. Board work is mostly DC, continuity and diode mode, where true-RMS does nothing. Spend the money on a fast beeper and honest fuses instead.
Is a $15 meter really usable? For DC rails, continuity and rough resistance, yes — the accuracy math above proves it. It falls down on input impedance, burden voltage, AC, and safety.
Why does my resistance reading change when I change range? The test current changes with the range — 1 mA on 600 Ω down to 1 µA on 6 MΩ. In circuit, that difference switches semiconductors on and off. Lock the range when comparing boards.
Why does my board reset when I measure current? Burden voltage. The µA range puts roughly 100 Ω in series with the rail, and a current spike through it collapses the supply. Use a low-value shunt and the voltmeter, or read current at the bench supply.
Bench meter or handheld? Handheld, for repair. A bench DMM buys resolution you don’t need to find a shorted FET and gives up the thing you need most: holding a probe on a pad with one hand while the board is powered.
Verdict
A good repair meter isn’t the one with the most digits. It’s the one that beeps instantly, presents 10 MΩ to the node instead of 1 MΩ, publishes its burden voltage, and carries fuses rated for the worst thing you’ll ever accidentally touch. That combination exists well below the flagship price. Read the detailed specifications PDF before you buy — the manufacturers who leave those numbers out are telling you something too.