You bought a USB microscope, the CD is missing or your laptop has no drive, and every search result wants you to install a “driver pack” from a site covered in fake download buttons. Here is the short version: on Windows, the driver for almost every USB microscope sold today is already installed, and the software you actually need is either built into Windows or free from the people who make it.
What follows is what your microscope really is, what the bundled software adds that Windows doesn’t, and why yours runs at six frames per second when the box promised thirty.
Your Microscope Is Almost Certainly a Webcam
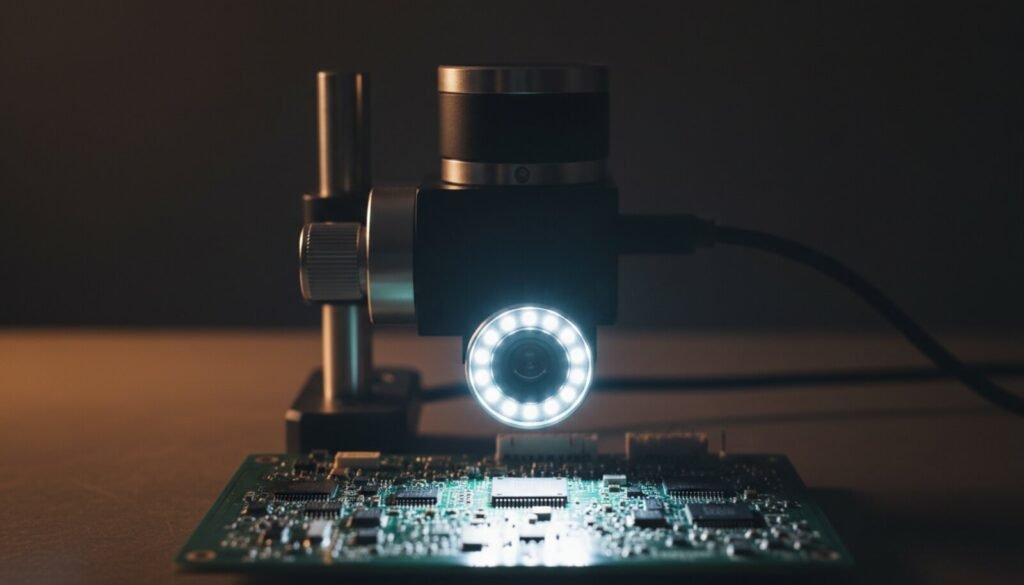
The cheap USB microscope, the ring-light “endoscope” style tube, the eyepiece camera you screwed into a stereo scope — the overwhelming majority of them are UVC devices: USB Video Class. That is a published USB Implementers Forum standard, and Microsoft ships the driver for it in the box.
From Microsoft’s own driver documentation for Usbvideo.sys: “When your device uses UVC, you don’t need to supply your own driver. Instead, the device works automatically with the system-supplied driver.” The same page lists, as an advantage of the standard, “No CD required for installation.” Windows 7 and up handle UVC 1.0 and 1.1; from Windows 8 onward, UVC 1.5 with H.264 as well.
So the thirty-second test, before you download anything:
- Plug the microscope into a USB port directly on the machine — not through a hub.
- Open the Camera app that ships with Windows.
- If there is more than one camera, click the switch-camera icon in the corner.
If you see the board on screen, you are done. There is no driver to hunt for, and any site offering you one for that device is selling you something else. If nothing appears, check Device Manager under Cameras or Imaging devices — a UVC device shows up there named as a generic USB video device with no warning triangle.
The exceptions are narrow: WiFi microscopes (not USB devices at all — a wireless camera with a phone app), some older Dino-Lite models that use a vendor interface, and units with a built-in screen that expose only a mass-storage drive when plugged in.
What to Actually Run
Windows’ Camera app shows live video and takes pictures, and for a lot of bench work that is enough. It does not let you choose the stream format, which matters more than you’d think — see below.
For anything beyond “let me see the board bigger”, install OBS Studio. Free and open source, it treats any UVC camera as a source, gives you the full properties dialog — resolution, frame rate, stream format — and records without a watermark or a signup.
OBS Studio — official download
We link the project’s own download page instead of hosting a copy. OBS updates often, and a stale mirrored installer is exactly the kind of thing this site exists to argue against. Download it from the source, not from a “driver site”.
Add the microscope with Sources → Video Capture Device and open its properties. That dialog is where the useful settings live, and it is why OBS beats the bundled viewer even when the bundled viewer works.
When You Genuinely Need the Vendor Software
There is one thing the branded application does that Windows and OBS do not: calibrated measurement. Drawing a line across a trace and getting a number in micrometres means the software knows the pixel-to-distance ratio at that exact magnification — calibrated against a stage micrometre and stored per magnification step.
If your camera has a real manufacturer, get the software from that manufacturer:
- ToupTek publishes ToupView (full package) and ToupLite (lighter) for Windows, macOS and Linux, including ARM64 builds, on its own download page. Many rebadged eyepiece cameras are ToupTek hardware underneath.
- Dino-Lite publishes DinoCapture 2.0 and DinoCapture 3.0 for Windows on dino-lite.com.
- AmScope runs a download portal where you pick product, model and operating system.
The catch: this software is tied to the vendor’s own cameras. ToupView is documented as supporting the “ToupTek Full Camera Series” — not whatever no-name tube you bought. No amount of searching produces an official installer for a device that has no manufacturer.
One warning that belongs here because it comes up constantly: do not point Zadig at your microscope. Replacing the class driver with WinUSB, which is the whole purpose of Zadig on a USBasp, will make the camera vanish from every video application on the machine. UVC devices want the inbox driver. Leave them alone.
The Part Nobody Covers: Your Frame Rate Is a Bandwidth Problem
The most common complaint about USB microscopes is that they turn into a slideshow at full resolution. It is rarely a bad cable and rarely a bad camera. It is arithmetic, and the numbers are published.
The UVC uncompressed payload specification defines YUY2 as a packed 4:2:2 format — two bytes per pixel. A 1280 × 1024 frame in YUY2 is therefore 2,621,440 bytes. Thirty of those per second is about 78 MB/s, or 629 Mb/s. The entire USB 2.0 bus runs at 480 Mb/s. The stream you are asking for does not fit, and never did.
It gets tighter. The USB 2.0 specification, section 5.6.4, caps a single high-speed endpoint: “A high-speed endpoint can move up to 3072 bytes per microframe (or 192 Mb/s).” That is 24 MB/s — which divides into a 2.6 MB uncompressed frame about nine times. Nine frames per second is the physical ceiling for uncompressed 1280 × 1024 on USB 2.0. Your camera is not broken; it is doing the best the bus allows.
The fix is MJPEG. The same inbox driver supports both — Microsoft’s UVC page lists MJPEG and DV as supported compressed formats alongside uncompressed YUY2 and NV12. A JPEG frame is roughly a tenth the size, so 1280 × 1024 at 30 fps fits comfortably. The catch: whichever application picks the format for you may pick wrong, and the Camera app gives you no say at all.
In OBS: open the Video Capture Device properties, find Video Format, and set it to MJPEG instead of Any. Then set the resolution and FPS explicitly rather than leaving them on the device default. If the frame rate jumps from single digits to smooth, that was your whole problem.
Two Cameras, One Controller
Here is the other failure that looks like broken hardware. You have the microscope working, you plug in a second camera or a webcam, and now one of them refuses to start — often with no useful error at all.
Video streams use isochronous transfers, which reserve bus time in advance rather than competing for it. The USB 2.0 specification is blunt about what happens when the reservation cannot be met: “If there is sufficient bus time for the maximum data payload, the configuration is established; if not, the configuration is not established.” And the periodic budget is not the whole bus — high-speed endpoints “can allocate at most 80% of a microframe for periodic transfers.”
The UVC FAQ describes the same trap from the application side, noting that with isochronous pipes “each camera would have to reserve the bandwidth” and the host has to manage the total to avoid a shortage.
Two consequences. First, MJPEG doesn’t just buy frame rate — it shrinks the reservation, so two compressed streams coexist where two uncompressed ones cannot. Second, moving to a different port often changes nothing, because ports share a controller. You need a different root hub: on a desktop, a rear port versus a front-panel header, or a plug-in USB card.
| Symptom | Usual cause | What to do |
|---|---|---|
| No image anywhere, device not in Device Manager | Power or cable — microscopes with ring lights draw real current | Direct port, not an unpowered hub; try a known-good cable |
| Device present, but every app says “camera in use” | Another app holds the stream (Teams, browser tab) | Close it; only one process gets an exclusive UVC stream |
| Smooth at 640 × 480, slideshow at full resolution | Uncompressed format selected | Force MJPEG in the capture properties |
| Second camera won’t start | Isochronous bandwidth reservation refused | MJPEG on both, or move one to another controller |
| Camera disappeared after running a driver tool | Class driver replaced with WinUSB | Uninstall the device in Device Manager, unplug, replug |
| Photo resolution differs from video resolution | Normal — UVC defines three still-capture methods | Nothing; method 2 and 3 allow a larger still than the stream |
Where This Sits on the Bench
A microscope is not the point of the job — it is what makes the rest of the job possible. It lets you read the part number on a 0402 before deciding whether that resistor is out of tolerance, and confirm a MOSFET is the one you think it is before you probe it.
It earns its cost fastest around solder. Checking a joint after hot air work — did the menisci reflow, is there a bridge under that connector — is a magnification problem, not a skill problem. Same for spotting a leaking electrolytic before you measure its ESR, and for reading the marking on a flash chip before you clamp a SOIC-8 clip onto it: a part ending in V wants 3.3 V and one ending in W wants 1.8 V, and that letter is printed about a millimetre tall.
On BGA, magnification stops being optional. And if the next step is dumping the chip you just identified, that road starts at the CH341A.
FAQ
Where do I download the driver for my USB microscope?
For a UVC device, you don’t — Windows supplies it. Microsoft’s documentation states plainly that a UVC device “works automatically with the system-supplied driver”. If a site offers you a driver for a generic USB microscope, close the tab.
My microscope claims 1600 × 1200 or “12MP” but the software only offers 640 × 480.
The device declares its real capabilities in its UVC frame descriptors, and the capture dialog lists exactly that. If a resolution isn’t in the list, the camera never had it. Box numbers are often interpolated; descriptors aren’t.
Does the same advice work on Linux or macOS?
Yes. Both ship UVC support (uvcvideo on Linux, the built-in class driver on macOS), and OBS runs on both. On Linux, v4l2-ctl --list-formats-ext prints the same format and frame-rate list the Windows dialog shows.
Can I measure trace widths without the vendor software?
Not reliably. Magnification on a digital microscope depends on working distance and on how large the image is displayed, so a pixel count means nothing until it has been calibrated against a known reference at that exact setting. That calibration workflow is what you are paying for in the branded application.
The image is sharp but the colours are wrong under my ring light.
Turn off auto white balance in the capture properties and set it manually. UVC exposes white balance as a standard control, so any app on the inbox driver can reach it — the bundled viewer has no special access.
The Verdict
The search that brought you here has a disappointing answer, and that is a good thing: there is no missing file. Windows has the driver, the Camera app opens the stream, and OBS covers everything short of calibrated measurement — for which you go to the camera’s actual manufacturer, not a download portal.
The one setting worth remembering is the format. Force MJPEG, set the resolution and frame rate explicitly, and a microscope most people write off as laggy junk usually turns out to have been fine all along.
Sources: Microsoft “USB Video Class Driver Overview” (Usbvideo.sys); USB Implementers Forum, USB 2.0 Specification §5.6.3–5.6.4; USB Device Class Definition for Video Devices 1.5 (class specification, FAQ and uncompressed payload documents); vendor download pages for ToupTek, Dino-Lite and AmScope. Verified August 2026.