You bought a USBasp, plugged it in, typed the command everybody copies off forums — and AVRDUDE came back with target does not answer. The programmer is fine, the chip is fine, and the wiring is probably fine too. A brand-new AVR runs too slowly to talk to a USBasp at its default speed, and the datasheets say so in numbers. Here is the right download, the setup, and the arithmetic behind the fix.
⬇ AVRDUDE 8.2 for Windows (official MSVC x64 build)
Download AVRDUDE 8.2 (Windows x64)
Byte-for-byte the avrdude-v8.2-windows-x64.zip published by the AVRDUDE project on its own release page. SHA-256 e2a89a921e1b2fe675a319248ea968c7e28c7edc44c5fd836e2879a3e094c9cf — check it with certutil -hashfile avrdude-v8.2-windows-x64.zip SHA256 before you trust anything, including us. AVRDUDE is free software under the GPL; the full source is at github.com/avrdudes/avrdude.
Which of the nine Windows files you actually want
The release page offers nine archives and no explanation next to the download buttons. The project does say which one, further down the same release notes: “The majority of users should download avrdude-v8.2-windows-x64.zip.” That is the file above, and it is right unless one documented limitation bites you:
| MSVC x64 (the recommended one) | No libserialport. No CH341A support. Does not work with USB composite-device programmers — which includes a USBasp running the popular dioannidis firmware, and Microchip’s PICkit 5 |
| MSYS2 MinGW x64 | Everything the MSVC build lacks, but you have to run Zadig to swap the FTDI vendor driver before an FT232H, FT2232H or arduino-ft232r will be seen |
| x86 / ARM64 | Same MSVC limitations. Only for 32-bit Windows or Windows-on-ARM |
Windows .tar.gz static |
Recommended by the project for Arduino users; no libserialport |
Read that first row again, because it is the trap. A stock USBasp works perfectly with the recommended MSVC build. The moment you “upgrade” the programmer’s firmware to the popular fork — the one people install specifically to make things work better — the recommended build stops seeing it, and you need the MinGW zip instead.
There is no installer, and that is the point
Unzip it anywhere — C:avrdude is fine. Inside you get avrdude.exe and avrdude.conf. The .conf holds the definitions for all 392 parts and 202 programmers, and the .exe expects to find it next to itself, so keep them together. Open a terminal in that folder, or add the folder to your PATH.
You can prove the install works before you own any hardware. AVRDUDE ships a fake programmer called dryrun, described in its manual as one that “allows one to explore the AVRDUDE command-line and terminal without needing to have, or connect, a real physical programmer”:
avrdude -c dryrun -p m328p -t
That drops you into the interactive terminal against a simulated chip. Rehearse every command below there rather than on a board you care about.
Windows needs a driver first
AVRDUDE talks to a USBasp through libusb, not a COM port, so there is nothing for Windows to enumerate as a serial device. Until you install a libusb-class driver, AVRDUDE will report that it cannot find the USB device no matter what you type. The USBasp author points at the same tool we do: install the driver with Zadig first. One-time job per PC.
Wiring, and the 5 V problem nobody mentions
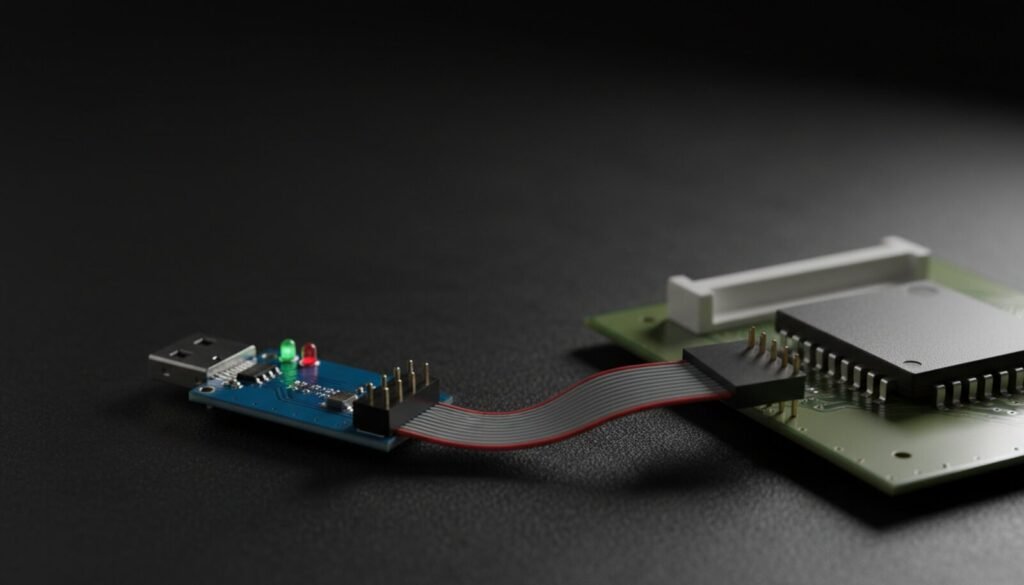
A USBasp is simple hardware. Its author, Thomas Fischl, describes it as a programmer that “simply consists of an ATMega88 or an ATMega8 and a couple of passive components”, using a firmware-only USB driver. Six signals go to the target: MOSI, MISO, SCK, RESET, VCC and GND, on a 6-pin or 10-pin ISP header.
The three jumpers on the board are documented in the official readme, and each one has a way of ruining an afternoon:
| J1 — power target | Feeds the target 5 V from USB. The readme warns plainly: “Be careful with this option, the circuit isn’t protected against short circuit!” |
| J2 — firmware upgrade | Only for reflashing the USBasp’s own ATmega, with a second programmer. It is not self-upgradable |
| J3 — SCK option | “If the target clock is lower than 1,5 MHz, you have to set this jumper. Then SCK is scaled down from 375 kHz to about 8 kHz.” Remember this one; it comes back below |
And the limitation that costs people chips, straight from the same readme: “This circuit can only be used for programming 5V target systems. For other systems a level converter is needed.” A plain USBasp drives 5 V logic. If your target runs at 3.3 V, you need level shifting or a 3.3 V-capable board — the same lesson, and the same failure mode, as clipping a 5 V programmer onto a 1.8 V flash chip.
The three commands that cover most bench work
Connect and read the signature — the “is anything alive” test:
avrdude -c usbasp -p m328p -v
Read the existing firmware out before you overwrite it, every time:
avrdude -c usbasp -p m328p -U flash:r:backup.hex:i
Write a hex file to flash. AVRDUDE erases the chip first unless you stop it:
avrdude -c usbasp -p m328p -U flash:w:firmware.hex:i
The -U pattern is always memory : operation : file : format. Use -c ? to list every programmer AVRDUDE knows and -p ? for every part. And note -e (force a chip erase) and -D (disable the automatic erase) — the two flags that decide whether your existing flash survives the next command.
The part nobody covers: a factory AVR is too slow for a stock USBasp
Here is the failure that fills the forums, assembled from three primary documents nobody puts on the same page.
One. A new ATmega328P is not running at 16 MHz. Microchip’s datasheet: “The device is shipped with internal RC oscillator at 8.0MHz and with the fuse CKDIV8 programmed, resulting in 1.0MHz system clock.” Every AVR you take out of the bag runs at 1 MHz.
Two. The same datasheet sets the ISP clock ceiling in the target’s own terms: the minimum SCK low period and high period are each “> 2 CPU clock cycles for fck < 12MHz”. Two low plus two high is four CPU clocks per bit, so SCK can never exceed a quarter of the chip’s clock. At 1 MHz that is 250 kHz, hard limit, silicon-level.
Three. A USBasp’s default SCK is 375 kHz — the number in its own readme.
375 kHz against a 250 kHz ceiling. A brand-new ATmega328P and a stock USBasp cannot talk at default settings. It is not a bad cable, not a counterfeit chip, not Windows. AVRDUDE’s manual states the rule in one line: “the ISP clock speed must be reduced appropriately (to less than 1/4 of the internal clock speed) using the -B option before the ISP initialization sequence will succeed.”
So slow it down with -B, which takes a period in microseconds or a frequency with a suffix:
avrdude -c usbasp -p m328p -B 125kHz -U flash:w:firmware.hex:i
USBasp firmware does not accept arbitrary speeds. It has a fixed ladder, and AVRDUDE quietly picks the next rung at or below what you asked for:
| 3 MHz | Only on the UsbAsp-flash firmware fork; ignored by stock firmware |
| 1.5 MHz · 750 kHz · 375 kHz | 375 kHz is the default. Fine for a target at 1.5 MHz or faster |
| 187.5 kHz · 93.75 kHz | Where a factory 1 MHz chip actually works. Start here |
| 32 k · 16 k · 8 kHz | 8 kHz is what jumper J3 selects in hardware. Good down to a 32 kHz target |
| 4 k · 2 k · 1 k · 500 Hz | Last resort for a chip crawling on a watch crystal. Slow, but it answers |
Two things that trip people at this exact step. If AVRDUDE answers cannot set sck period; please check for usbasp firmware update, your clone is running firmware too old to accept the speed command over USB — fit jumper J3 instead and you get 8 kHz in hardware. And if you see found USBasp with old VID/PID; please update its firmware, that is a different, older clone problem with the same cure.
Once you are in, do not stay slow. The manual’s own advice is to “just issue a chip erase using the slow ISP clock (option -e), and then start a new session at higher speed”, adding -D to the second call so it does not erase again. Fix the clock fuse in that first slow session and every session afterwards runs at full speed.
Fuses without the hex calculator
Every tutorial written before 2023 sends you to a web fuse calculator and then to -U lfuse:w:0x62:m. Modern AVRDUDE does not need any of that, and it is the most useful thing in version 8 that nobody has noticed.
Enter the terminal with -t and type config. AVRDUDE lists the part’s configuration properties — “bitfields in fuses or lock bits bytes that can take on values, which typically have a mnemonic name” — by name, with the current setting. config -f groups them by the fuse byte they live in; a property followed by = shows every legal value. And you set one by name:
config ckdiv8=0
No hex, no bit maths, no third-party website that may or may not know your part. There is also factory reset, which returns a chip to its shipped configuration — handy when you have no idea what the previous owner did to it.
The manual attaches a warning worth quoting exactly: “It is quite possible, as is with direct writing to the underlying fuses and lock bits, to brick a part, i.e., make it unresponsive to further programming with the chosen programmer: here be dragons.” The classic way to do it is selecting an external crystal on a board that has none — the chip then has no clock, so it cannot run the ISP logic, so you cannot undo it. Recovery needs high-voltage programming, which a USBasp cannot do. The DWEN fuse is the other one: enable debugWIRE and “the /RESET pin is not functional anymore, so normal ISP communication cannot be established.”
One detail from the factory reset docs that saves a panic: changing clock fuses “may require that future avrdude calls use a different bit clock rate up to F_CPU/4”. Change the clock, and your working -B value changes with it.
Where this sits on the bench
AVRDUDE programs microcontrollers over ISP. It is not the tool for the 8-pin flash chip next to them — that belongs to a CH341A and AsProgrammer or flashrom, and the recommended AVRDUDE build has no CH341A support at all. For serial EEPROMs there is the 24Cxx guide; for STC’s 8051 parts, STC-ISP and its cold-start trick; for ESP32s, the Flash Download Tool. If you would rather drop the chip into a socket than clip onto a live board, a TL866II Plus running XGpro handles AVRs offline and skips the clock problem entirely.
FAQ
Do I need the Arduino IDE for any of this?
No. The IDE bundles its own copy of AVRDUDE and hides it behind a menu. The standalone tool gives you what the IDE will not expose: fuses, EEPROM, lock bits, and reading firmware out of a chip.
I have two USBasps plugged in. How do I pick one?
By its place on the USB bus or by serial number: -P usb:001:008 or -P usb:1234. To see what is attached, ask for a port that cannot exist — avrdude -v -Pusb:xyz -c usbasp -p m328p prints a “Found USBasp” line for each device with its bus address and serial number.
Can AVRDUDE flash my motherboard’s BIOS chip?
No. AVRDUDE speaks to AVR microcontrollers; a BIOS chip is SPI NOR flash and needs a different tool entirely. Start with the CH341A or flashrom guides linked above.
Is there a graphical front end?
AVRDUDESS, currently version 2.20, wraps the same command line in a window and shows you the command before it runs. It is a front end, not a replacement — it still needs AVRDUDE, the right driver and a sane bit clock underneath.
My chip reads a signature of 0x000000. Now what?
Nothing is answering. In order: check the driver, check that VCC and GND actually reach the target, confirm the ISP header orientation, then drop -B to 93.75 kHz. The byte AVRDUDE prints in the “target does not answer” error is the echo the chip should send back during the Programming Enable instruction; all zeros means it is not clocking at all.
Verdict
AVRDUDE has aged into something better than it was: no installer, no account, no bundled toolbar, a documented dry-run mode, and a fuse system that finally lets you say ckdiv8=0 instead of decoding hex. Download the MSVC x64 build unless you have flashed custom firmware onto your USBasp, install the libusb driver once, and put -B 93.75kHz in your first command against any unfamiliar chip. That one flag is the difference between “my programmer is broken” and a working bench — and it took three separate documents to explain why.
Using a PICkit 4 or MPLAB Snap with AVRDUDE instead of a USBasp? Those two only work with AVRDUDE in AVR mode, and switching them back for MPLAB is one -x mode=mplab away. The USB IDs that show which mode you’re in are in our PICkit and MPLAB IPE guide.